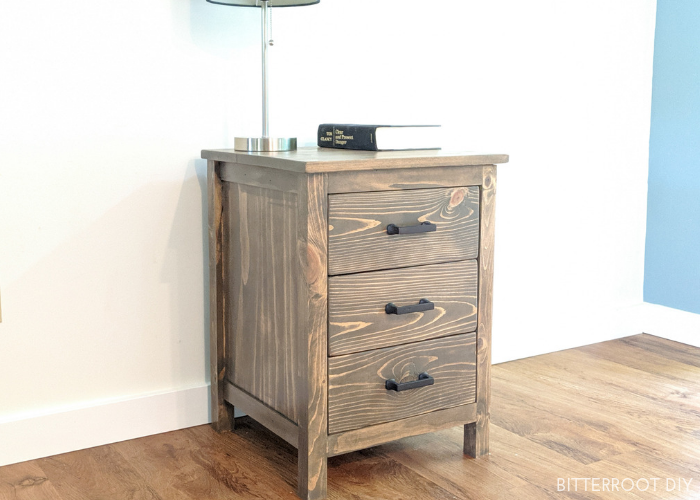
Wide 3 Drawer Nightstand Plans
Add a lot of storage space to your room with these plans to build a DIY nightstand with 3 drawers.
This post may incorporate chapter links. If you brand a purchase from ane of the links, I may brand a small committee at NO EXTRA COST to you lot. This helps keep the tutorials and plans free here at Bitterroot DIY. Cheers for your support! Run into my full disclosurehere.
If you lot're wondering where all the drawers from the last few posts came from, here's the culprit! This may exist one of my favorite woodworking projects to date. I say that every time I cease something, but I really hateful information technology this time! At that place's and so much storage space in this little guy, and I just can't get over the make clean lines.
If you're looking to build this, I have a few posts with more details near the drawers that y'all may be interested in:
- How to Build a Basic Drawer
- How to Build a Drawer with a Router
- How to Build a Drawer with a Cease Nailer
- The Easiest Way to Install Drawer Fronts
- How to Install Drawer Slides
For the purposes of the lumber and cut lists, I used dimensions for the drawers based on building the drawers with a end nailer. If you cull to build the drawers with a dissimilar method, adjust your cuts equally necessary.
Bask the Plans!

Tools & Supplies
- iii Pairs of xiv″ Drawer Slides (I used bottom mount slides simply these side ball-bearing ones are also great)
- three Handles
- Kreg Pocket Hole Jig
- Miter Saw
- Circular Saw
- Drill
- Orbital Sander
- Tape Measure
- Clamps
- Wood Glue
- Level
- Speed Square
- Pencil
- Safety Spectacles
- Ear Protection
- 1 ¼" Pocket Hole Screws
Lumber:
- 5 | one 10 iv @ 8′
- 1 | two x 2 @ 8′
- 1 | i x 2 @ 8′
- 1 | 1 x 6 @ eight′
- 1 | i/four″ x 1 1/5″ Lattice Trim @ 8′ (available in the trim aisle)
- 1 | Half Sheet of 1/four″ Plywood
Cuts:
- iv | 2 x 2 @ 23″ (legs)
- 6 | 1 ten 2 @ 13 1/2″ (frame)
- viii | 1 x iv @ twenty″ (sides)
- v | ane x 4 @ 17 i/2″ (tabletop)
- vi | ane x iv @ 15″ (drawer sides)
- 6 | 1 x 4 @ x 1/2″ (drawer front & back)
- 3 | one x 6 @ 13 ane/4″ (drawer fronts)
- 4 | 1/iv″ Lattice @ fourteen″ (trim)
- 1 | ane/4″ Plywood @ 13 1/2″ x xx″ (nightstand back)
- 3 | 1/4″ Plywood @15″ x 12″ (drawer bottoms)
Step 1.
Build the sides of the nightstand out of 1x4s. Y'all could utilise plywood, but I went with 1x4s this fourth dimension – up to you lot!

Use woods glue and one 1/four″ pocket hole screws to attach the boards to each other every bit you lot would a tabletop. Stagger the pocket holes to ensure a solid articulation.
You lot'll also need pocket holes forth the outside edges of the console to attach the side to the legs in step 2.

Build ii sides.
Step 2.
Attach the side panel to the 2×ii legs with wood mucilage and ane ane/4″ pocket hole screws.

Repeat for the other side.

Footstep 3.
Join the side panels together with the peak & bottom 1×2 supports in the front and back.

Use wood glue and ane one/4″ pocket hole screws to attach the 1x2s to the legs.

Step 4.
Insert the dorsum panel into identify and attach it to the 1x2s with wood glue and terminate nails.

Step five.
Once the dorsum console is in place, add a support in the middle along the elevation and lesser to brand sure the side panels don't curve inwards at all.
Position the center 1x2s just behind the middle joint in the side panels to avoid putting a screws through the seam (if y'all built it out of 1x4s rather than plywood).

Step 6.
Add the trim pieces on the top and lesser of each side console.
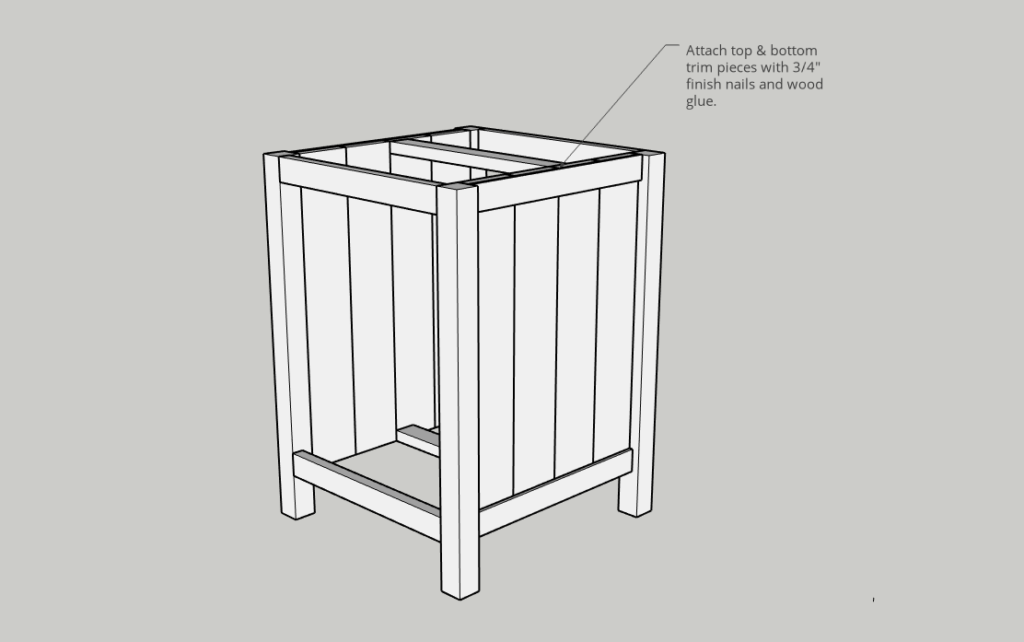
Step 7.
Build the top of the nightstand the same way that you did the side panels. Join the 1x4s to each other with woods mucilage and ane 1/iv″ finish nails. Stagger the pocket holes on each side to ensure a stiff joint (equally shown in the photograph to a higher place).
Wait to attach the top until you've installed all the drawers.
Step viii.
Build three drawers with dimensions equally shown. Run across the posts listed at the tiptop of this tutorial for details to build the drawers.

Install the drawers in the nightstand as shown in my tutorial – How to Install Drawer Slides. I used bottom-mount slides since I attached the bottom of the drawer with finish nails and gum. The bottom-mount slides reinforce the bottom a footling.
Once y'all've installed the slides, adhere the drawer fronts. Meet my post on how to install drawer fronts if you need more information.

Step 9.
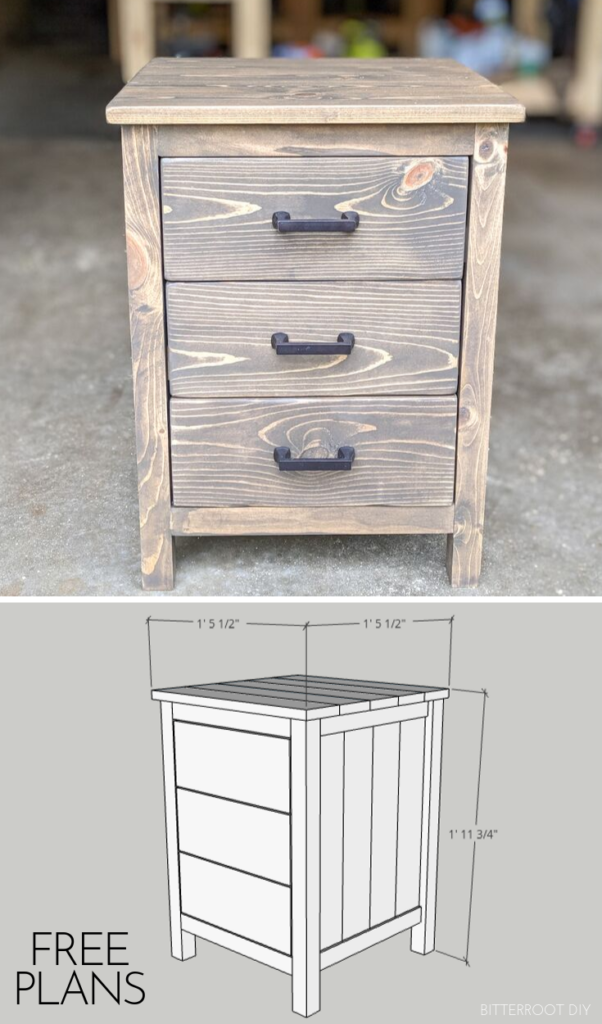
Last but not least, adhere the tabletop! I positioned the tabletop so it's flush with the back of the nightstand and overhangs the front 1/2″. Adjust to fit your style.
I like to adhere tabletops with small corner braces. The braces let the acme move when the wood expands and contracts without pulling on the frame.
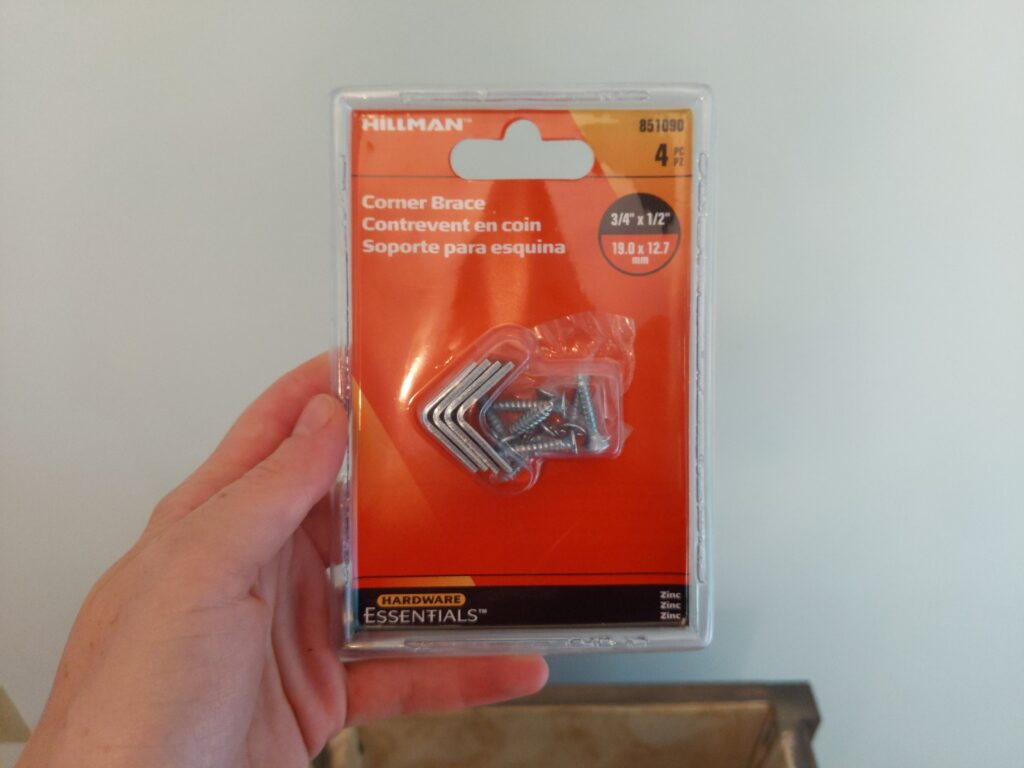
I used four on this tabletop – one in each corner of the frame (on the inside side of the nightstand).

And that's that – sand and stop equally desired!

I stained information technology with Varathane weathered woods accelerator in "dark-brown" and sealed information technology with glossy water-based polyurethane.
I used some old handles I had lying around for the drawers, merely hither are some similar ones.

Please let me know if you take whatever questions and I'll get dorsum to yous as soon as possible.

Thanks for stopping by!
For more project ideas, you lot can detect me on Pinterest. And to stay up to date with the latest shenanigans, follow me on Instagram.

Source: https://www.bitterrootdiy.com/3-drawer-nightstand/
0 Response to "Wide 3 Drawer Nightstand Plans"
Post a Comment